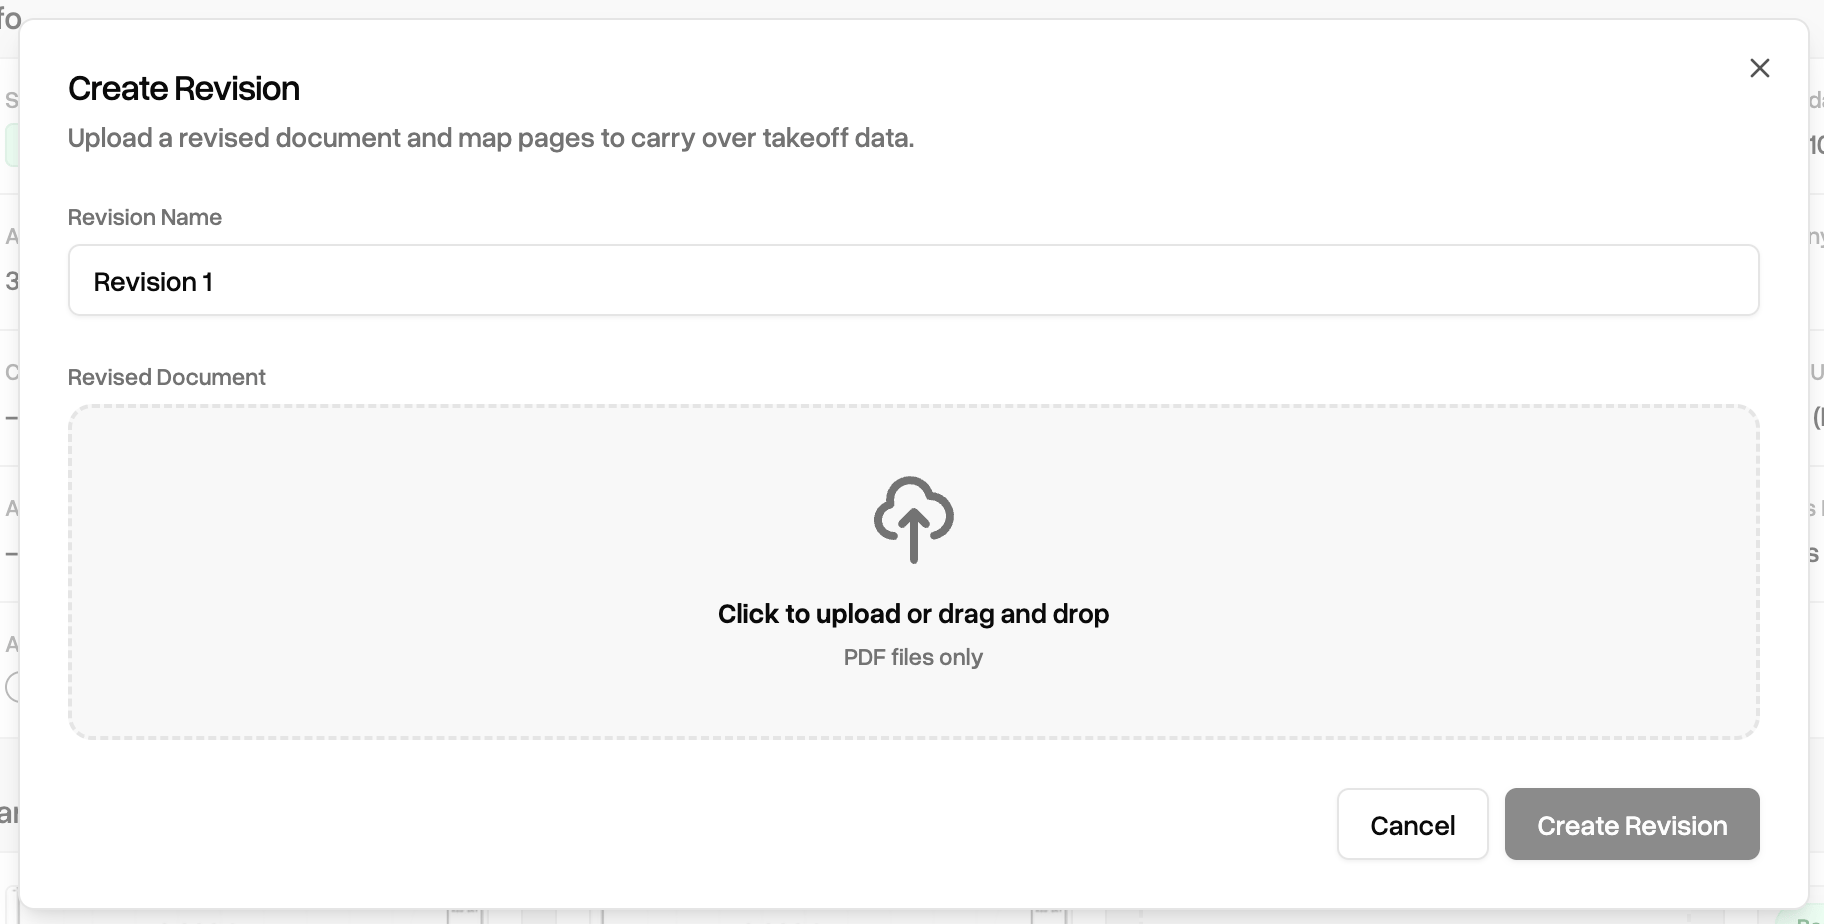
Create a Revision
Navigate to your project page. To begin with a new revision, click the “Create Revision” button in the top right, next to “Create report”.
Automatic Change Detection
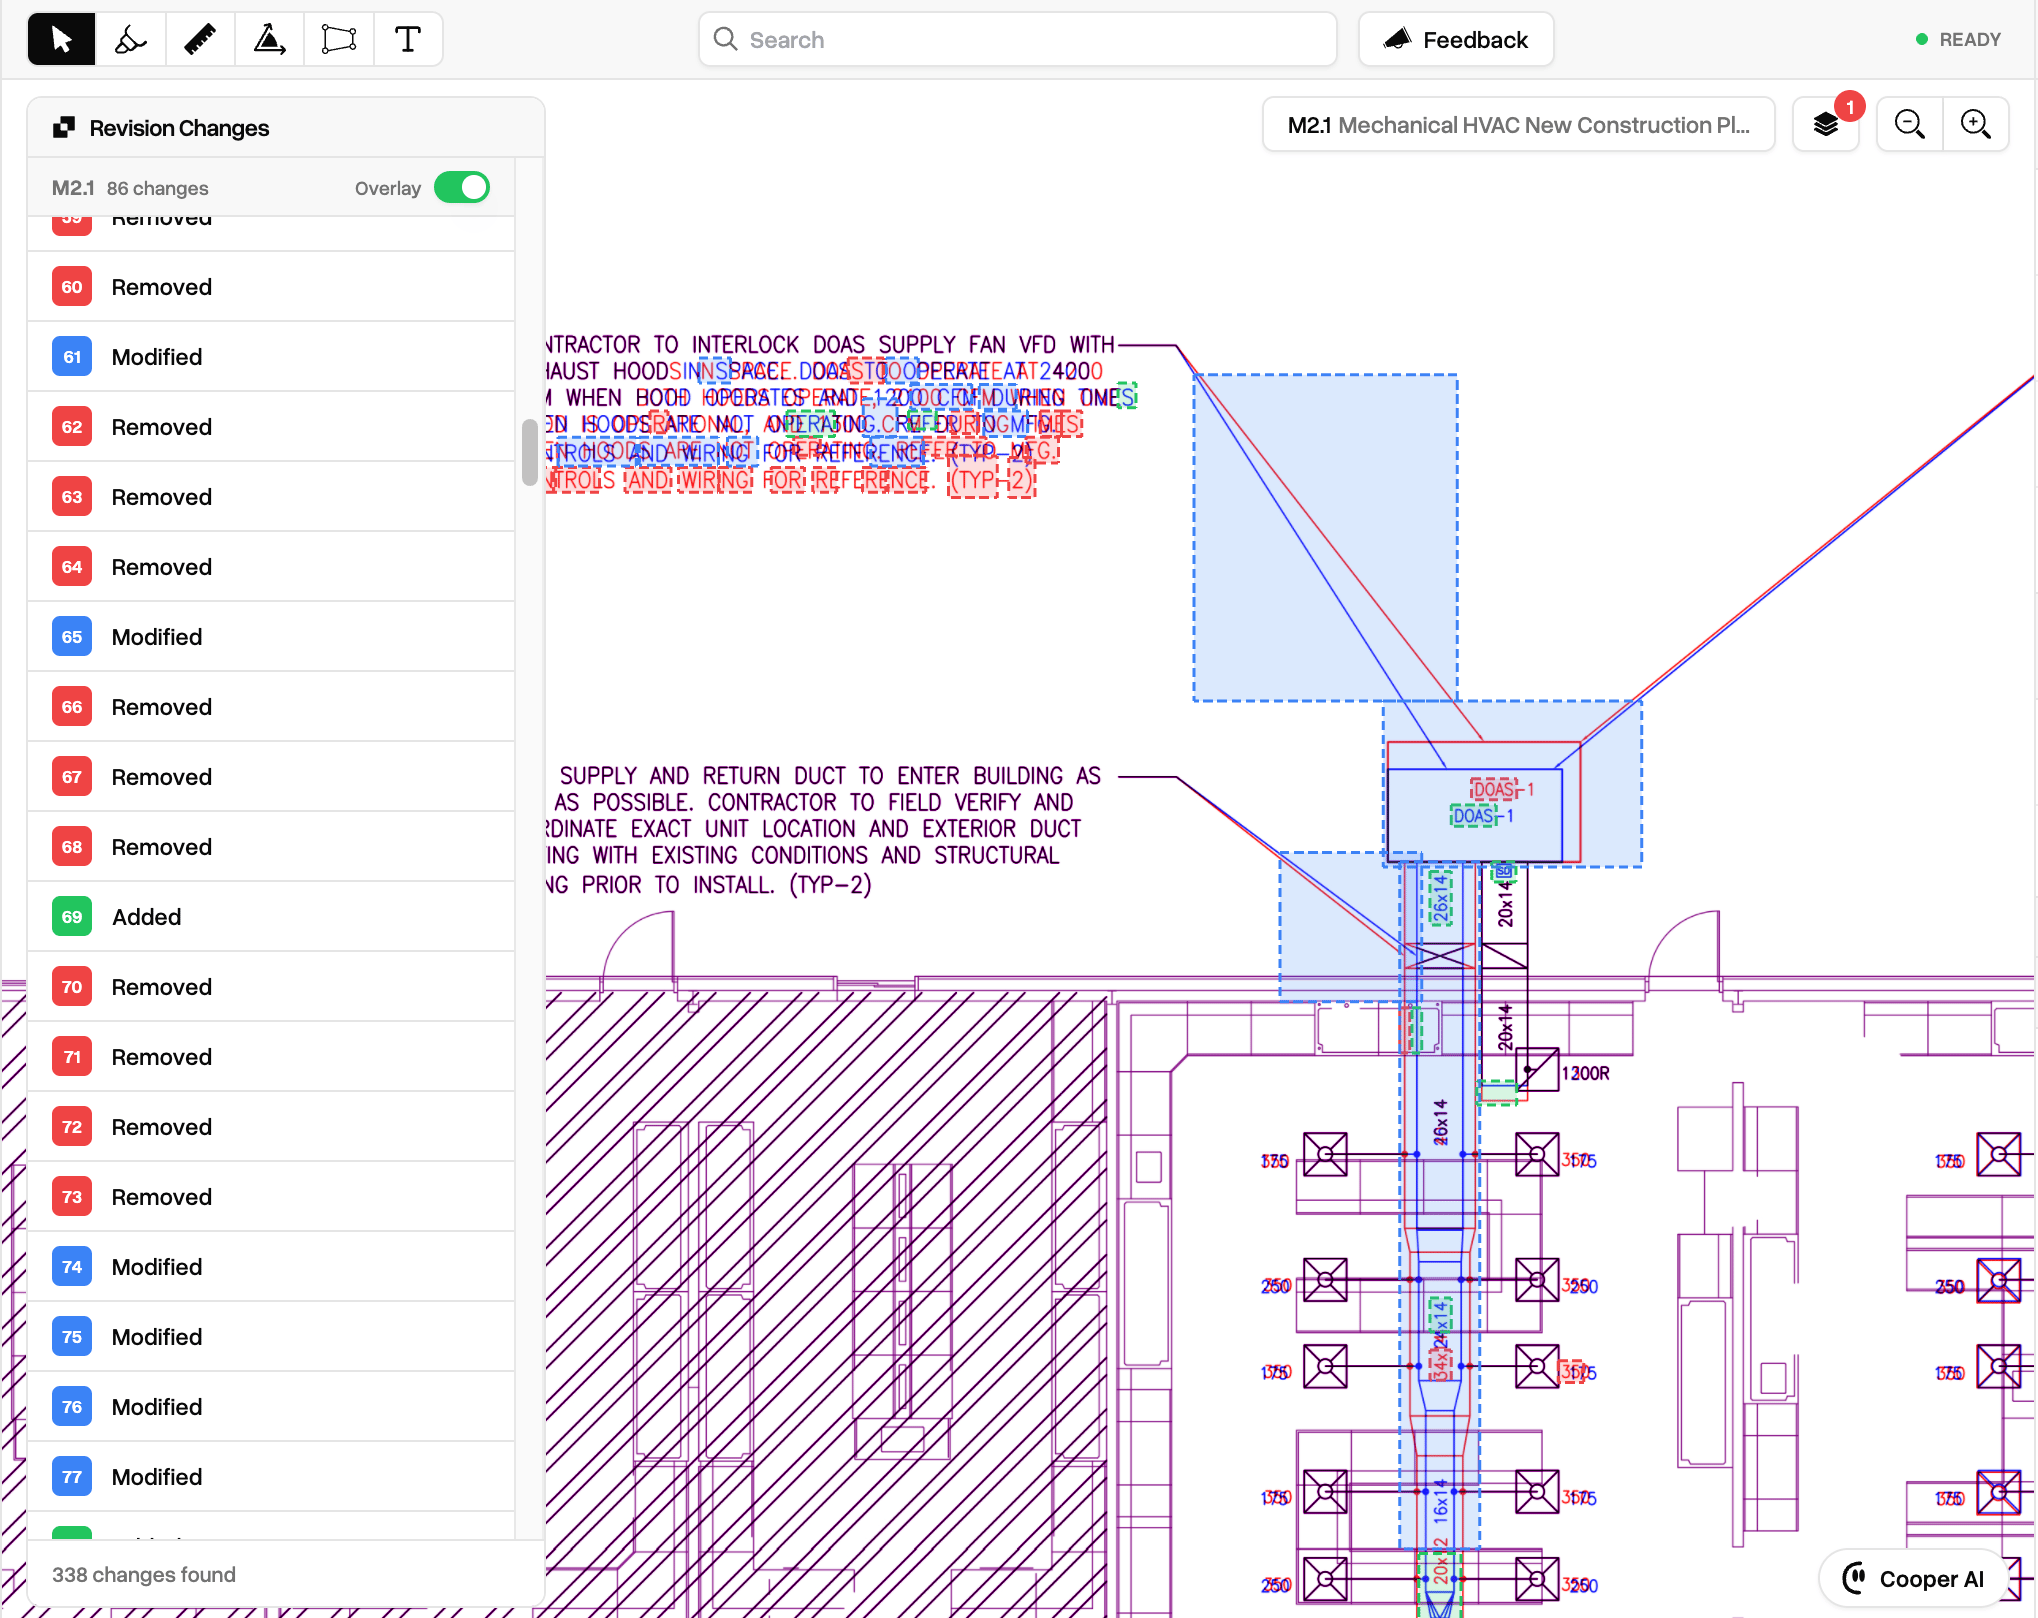
Once the document is uploaded and processed, you will be taken to the Takeoff page. You will see a “Revision [N]” row near the top right of the Takeoff. Toggle the
Changes switch to see the Revision Changes panel as well as change regions in the on the plans. (See below)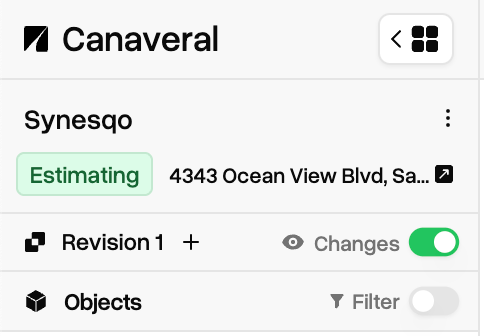
Overlays
Overlay any page over another using the new Page overlays section inside the Layers dropdown.Select your base page from the current version, and the overlay target from either the current or the previous version.Then, select the Blend mode:
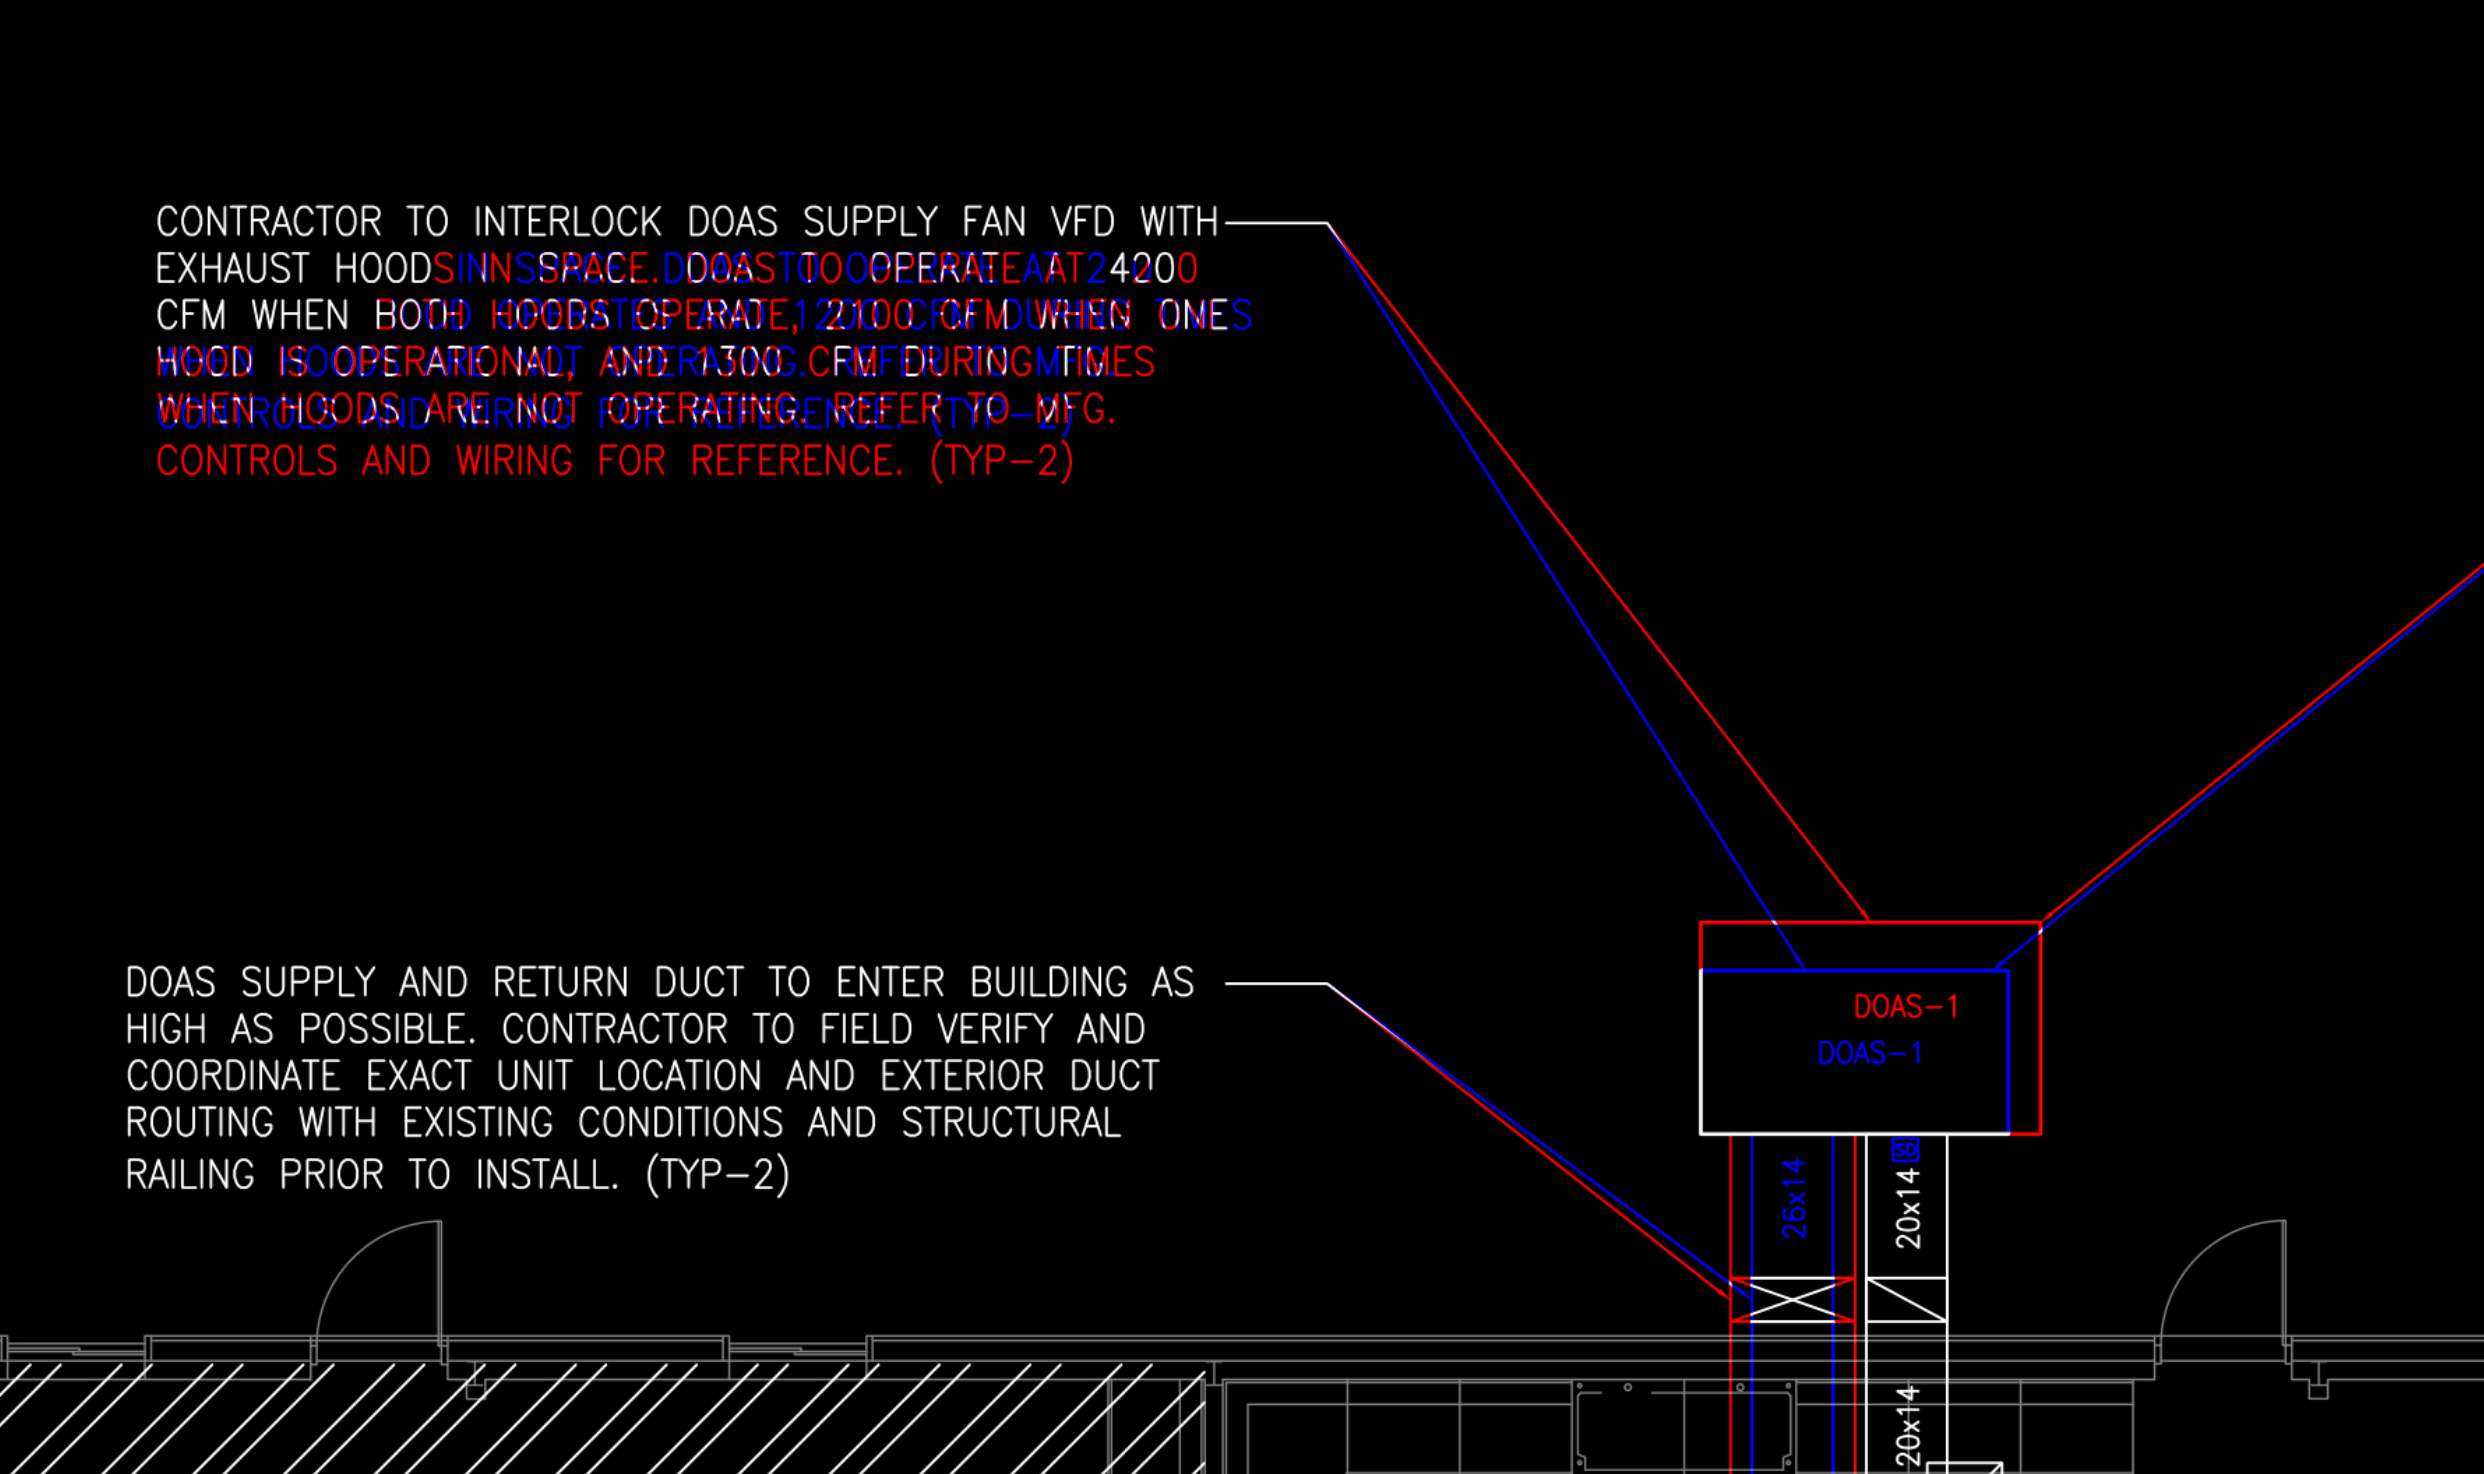
Differenceproduces a color treatment such that “new” content from the current version appears blue, “removed” content from the previous version appears red, and “unchanged” content appears white/black (depending on light/dark mode).Solidproduces a solid overlay with no color change. Useful when wanting to compare architectural pages to mechanical, for example.
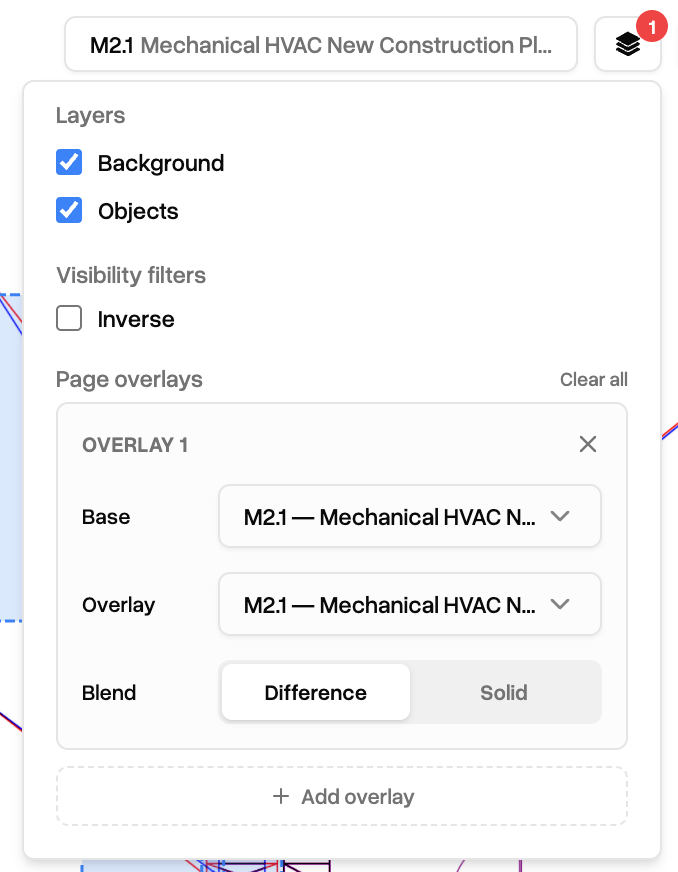
Only one overlay per page at a time.
When a project has a revision, pages that can be compared to previous versions have a new
Compare button in the right of the page list item. Clicking this button automatically toggles the an overlay definition with the selected page as the base and its predecessor as the overlay.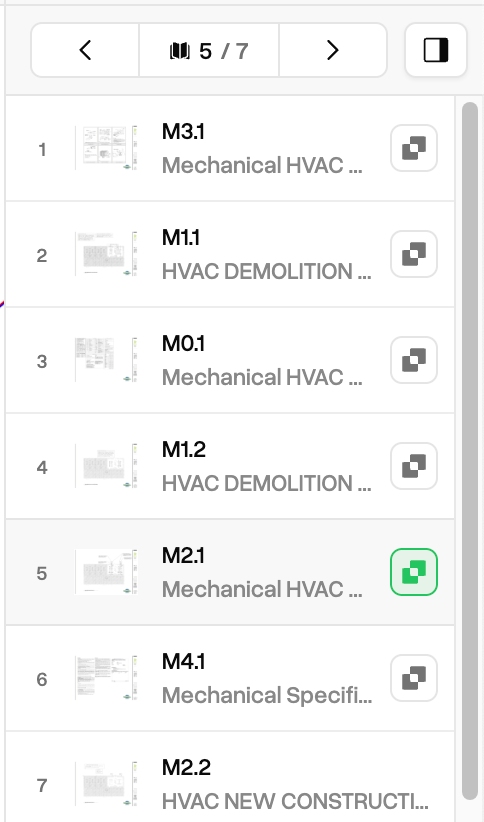
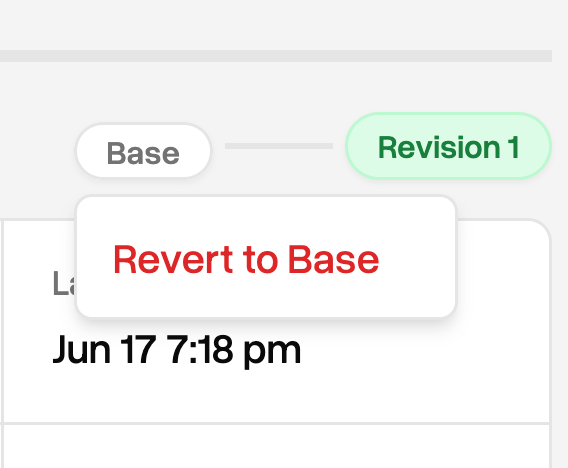
Reverting a revision
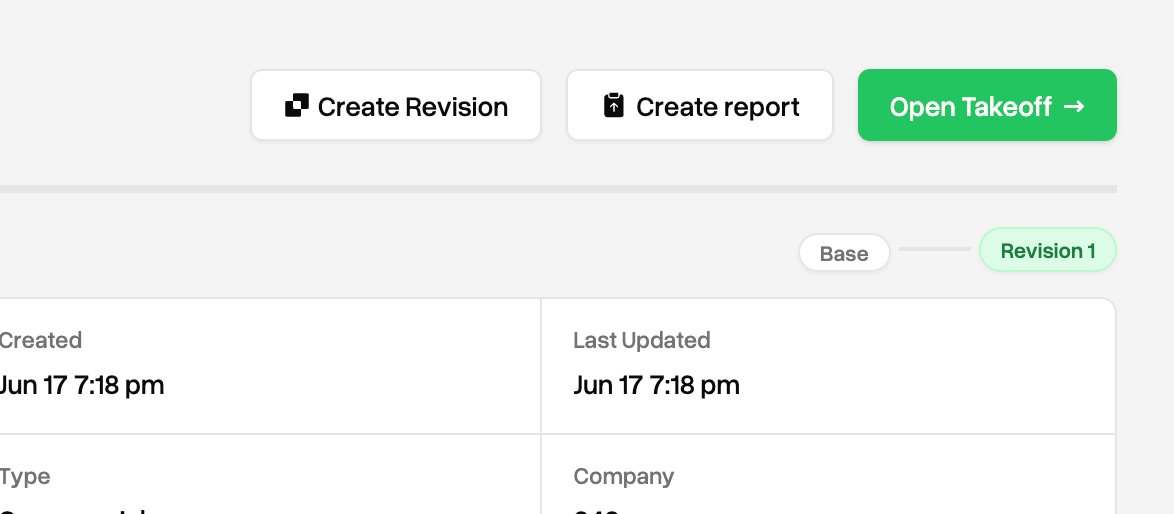
After creating a revision, a revision breadcrumb will appear below the
Open Takeoff button. The green pill will show the current active version. Click on one of the white pills to see an option to revert.Reverting to a specific revision will delete any subsequent versions, including takeoff data, so use this sparingly.